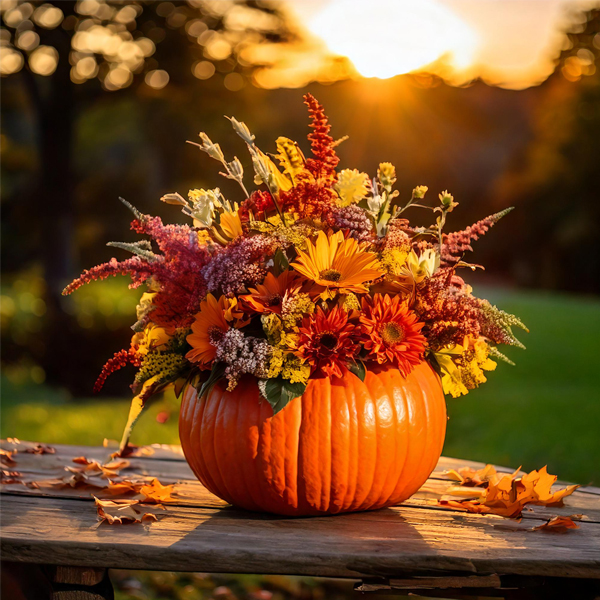
Pumpkin Flower Vase
Unless you're tanning it on a tropical island, void of doomy news and gloomy weather, it's safe to say: Autumn is officially here! With it comes the delightful chill in the air, pumpkin-spiced everything, and—if you’re anything like me—a deep-seated desire to decorate absolutely everything. From cozy throws to cinnamon-scented candles, the season is full of opportunities to turn your home into a warm, inviting haven. But let’s talk about the real star of the season: pumpkins.
Pumpkins aren’t just for carving or pie-making; they make the perfect canvas for a fresh, seasonal DIY project. Enter the pumpkin flower vase—a charming and surprisingly simple way to bring some autumn vibes into your décor. Whether you’re planning a cozy gathering with friends or just want to give your home a little seasonal upgrade, this DIY pumpkin vase will do the trick. Plus, it’s easy to make, eco-friendly, and guaranteed to impress even the grinchiest of grinches.
Here’s how you can create your own DIY pumpkin flower vase that will step up your autumn décor game.
What You’ll Need:
- A medium to large pumpkin (think classic orange, but don’t be afraid to get creative with white or pastel varieties)
- A sharp knife (for carving)
- A spoon or scooping tool (to hollow out the pumpkin)
- A small vase or mason jar that fits inside the pumpkin
- Fresh flowers of your choice (autumnal shades like deep reds, oranges, yellows, or greens work best)
- Optional: greenery like eucalyptus or baby’s breath for extra texture
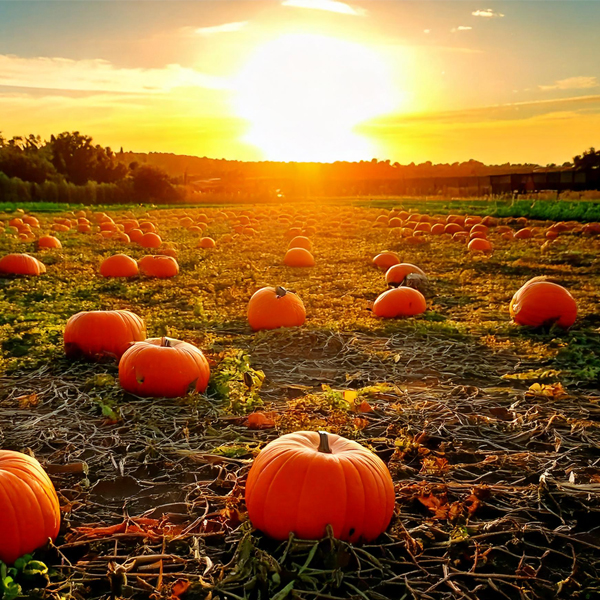
Step 1: Pick the Perfect Pumpkin
When choosing your pumpkin, go for one that’s sturdy and has a flat bottom so it doesn’t tip over. Classic orange pumpkins work well, but if you want to get creative, try a ghostly white pumpkin or even a muted pastel one for a more modern take. The pumpkin should be big enough to fit a small vase or mason jar inside once hollowed out. This little trick will help keep your flowers fresh longer without the risk of the pumpkin turning mushy too quickly.
Step 2: Hollow It Out
Using a sharp knife, carefully cut the top off the pumpkin just like you would if you were preparing to carve a jack-o'-lantern. Aim to make the opening wide enough to comfortably fit your vase or jar, but not too wide that it takes away from the pumpkin’s structure.
Once the top is off, scoop out the insides. It doesn’t have to be perfect—just make sure you’ve removed all the seeds and stringy bits. (Pro tip: Save those seeds! You can roast them later for a tasty snack. Nothing says autumn like roasted pumpkin seeds.)
Step 3: Insert Your Vase or Jar
Now that your pumpkin is hollowed out, it’s time to place your vase or mason jar inside. Make sure it fits snugly so it doesn’t wobble around. If your jar is too tall, you can trim the pumpkin’s top edge down a bit. The idea is for the flowers to peek just over the rim of the pumpkin, giving it a full and abundant look.
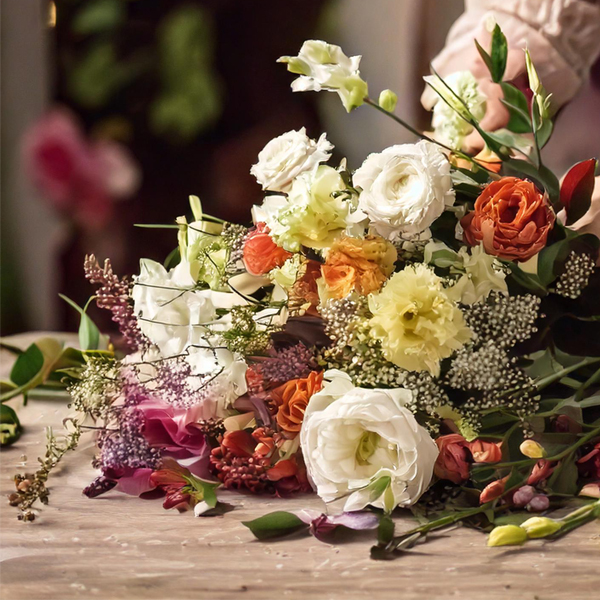
Step 4: Prepare Your Flowers
This is the fun part. Choose flowers that reflect the rich, warm colors of autumn—think sunflowers, chrysanthemums, roses, and dahlias in reds, oranges, yellows, and even purples. To add texture and variety, consider mixing in some greenery like eucalyptus or seasonal foliage. Carnations and gerberas are also fantastic choices to add pops of brightness and structure to your arrangement.
Trim the stems to your desired length, making sure they fit comfortably in your vase or jar. Be mindful not to overcrowd your arrangement. You want it to look full and lush but still allow each flower to shine.
Step 5: Arrange Your Flowers
Once your flowers are prepped, it’s time to arrange them in your pumpkin vase. Start with the larger blooms as your focal point, and work your way out, adding smaller flowers and greenery to fill in the gaps. Don’t worry if your arrangement feels a little wild—that's part of the charm! An arrangement that feels organic and overflowing will make your pumpkin vase look effortlessly chic.
Step 6: Show It Off!
Now that your pumpkin flower vase is complete, it’s time to show it off. Place it as a centrepiece on your dining table, on your porch to welcome guests, or even as a cute addition to your mantel or coffee table. The beauty of this DIY is that it works equally well for casual get-togethers or more formal events.
And the best part? This DIY pumpkin vase is eco-friendly. Once the flowers start to fade, you can compost the pumpkin or let it naturally break down in your garden. The vase can be reused for your next project, and you’ll have a seasonal decoration that doesn’t add to the pile of plastic or waste.
Why This Pumpkin Vase is a Game-Changer
While pumpkins are often associated with Halloween, they’re the perfect autumnal accent that can carry your décor well beyond October 31st. Plus, this pumpkin vase adds a natural, rustic element to your home that feels fresh, modern, and festive—without veering into overdone territory.
It’s a subtle way to embrace the season while showing off your DIY skills, and it’s a fantastic alternative to store-bought centrepieces. Not to mention, it’s the perfect project for green-conscious decorators. With the addition of fresh, seasonal flowers, you’re keeping your home décor aligned with nature and the changing seasons.
Now you’ve got a stylish autumn centrepiece that’s simple to make, eco-friendly, and perfect for stepping up your seasonal décor. So next time you’re eyeing those pumpkins at the market, remember, they’ve got more to offer than just pie or spooky faces. Why not turn them into something beautiful that will make your home feel like the cozy autumn haven it was always meant to be?